The Essential Pre-MOT Checklist You Can Do At Home
Every vehicle in the UK over three years old must undergo a Ministry of Transport (MOT) test annually to ensure it meets road safety and environmental standards. Failing the MOT can be a headache—kind of like missing your morning coffee—so a bit of preparation goes a long way. The brilliant news? Many common reasons for an MOT fail can be spotted and fixed with some straightforward checks you can easily do yourself at home before test day. This essential pre-MOT checklist you can do at home will help you identify problem areas, save time, and avoid wallet-busting repair bills.
Why Perform a Pre-MOT Check at Home?
The MOT test evaluates key safety and emissions aspects of your car. The usual suspects for failure include faulty lights, worn tyres, dodgy brakes, and windscreens that look like a spider’s convention. Doing your own pre-MOT inspection means you can catch these gremlins early, fix them yourself (or get a mechanic in before it’s crunch time), and smooth your way to a test pass. Plus, less stress, and a safer car? Win-win.
What to Check: Your At-Home Pre-MOT Checklist
1. Lights and Indicators
- Check all exterior lights: headlights, sidelights, brake lights, indicators, reversing lights, and number plate lights.
- Make sure every bulb is working and snug in its housing – no lazy bulbs allowed!
- Look for cracked or fogged lenses that could dim your car’s disco-worthy shine.
- Test indicators and hazard lights to make sure they flash like they mean it, at the correct speed.
2. Tyres and Wheels
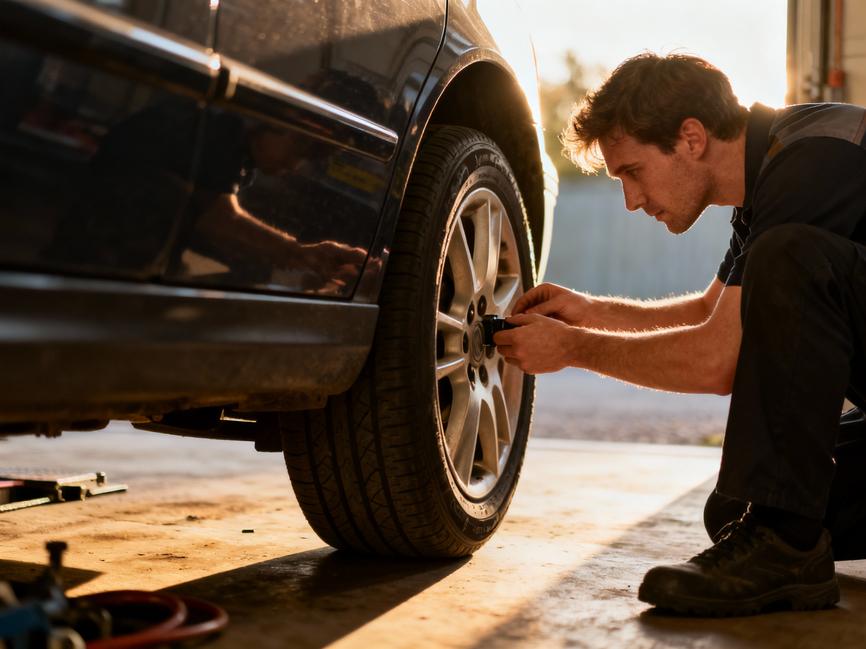
- Measure tread depth on all tyres (including the spare). Legal minimum is 1.6mm across the central three-quarters.
- Scout out uneven wear, cuts, bulges, or any tyre drama.
- Check tyre pressures against the manufacturer’s specs—don’t let your tyres go deflated like Monday motivation.
- Ensure wheel nuts are tight and wheels aren’t bent or damaged.
3. Brakes and Handbrake
- Park on a slope and test the handbrake holds your car firmly — no rolling away, please!
- During a safe drive, check brakes for smoothness, no pulling to one side, and zero weird noises.
- Keep an eye on brake warning lights on the dashboard; they’re your car’s way of waving a red flag.
4. Fluid Levels
- Check and top up engine oil, brake fluid, coolant (antifreeze), and windscreen washer fluid.
- Low fluids might not just fail the MOT—they can also turn your car into a drama queen on wheels.
5. Windscreen and Wipers
- Inspect for cracks or chips, especially in the driver’s view. Chips over 10mm or cracks bigger than 40mm in swept areas are a no-no.
- Check your wiper blades for wear, cracks, and streakiness—replace if they’re not clearing your view like a pro.
- Spray that windscreen washer and confirm the fluid is doing its cleansing magic.
6. Mirrors
- Make sure all mirrors, inside and out, are in one piece, secure, and crack-free.
- No Darth Vader tinting allowed—mirrors must provide clear rear visibility.
7. Seatbelts
- Pull each belt firmly to ensure it locks up faster than your front door on a cold day.
- Belts should retract smoothly and fasten without fuss.
- Check for any fraying, cuts, or damage on the belts or buckles.
8. Number Plates
- Confirm number plates are clean, undamaged, and firmly attached.
- They must be readable and comply with UK standards—no creative fonts or colours, please!
9. Horn
- Give your horn a toot-test! It should sound loud and clear enough to safely warn other road users.
10. Dashboard Warning Lights
- When starting your car, all warning lights should briefly illuminate then switch off.
- Any lights sticking around could mean a fault that needs fixing before the MOT.
11. Exhaust System
- Peek underneath your car for leaks, excessive rust, or loose parts.
- A noisy exhaust or visible smoke might just crash your emissions test party.
12. General Cleanliness and Interior Checks
- Clear out clutter from the car and boot—inspectors appreciate a tidy space.
- Check seat adjustments and headrests work properly.
- Test that seatbelt buckles and seats are secure and ready for action.
Bonus Tips for Your Pre-MOT
- Take your car for a quick spin to listen for funny noises in the engine, brakes, suspension, or steering.
- Make sure the steering doesn’t pull to one side and rides smoothly—your car shouldn’t have a mind of its own.
- Give your car a good clean before the test—first impressions count, even with MOT inspectors!
Summary
Doing the essential pre-MOT checklist you can do at home is a savvy way to make sure your vehicle ticks the boxes before the big day. From lights and tyres to brakes and fluids, these checks can save you time, money, and those pesky failed MOT blues.
Set aside a little time a week or two before your MOT to follow this checklist thoroughly. You’ll cruise to the test centre confident in your car’s roadworthiness. And if anything tricky pops up, at least you’ll have time to get it sorted—no last-minute panics required!
Call to Action
Take charge of your vehicle’s safety and your peace of mind—start your at-home pre-MOT check today! With a careful inspection and timely fixes, you’ll boost your chances of passing first time and enjoy safer journeys all year round.
Need a printable version of this checklist or some advice on tackling any issues? Just shout—I’m here to help!

Leave a Reply